

Introduction
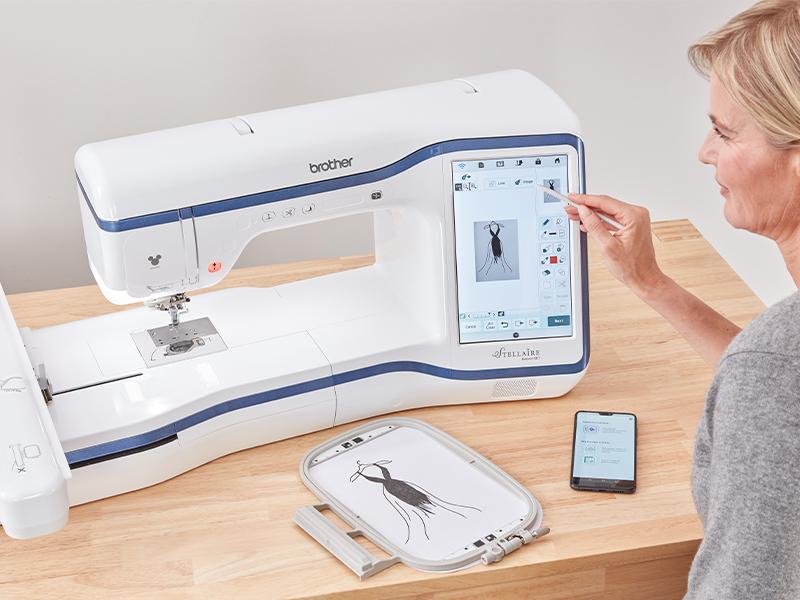
If you've ever looked at a JPG image and thought, "Wow, that would look amazing stitched onto a tote bag," you're not alone. The world of machine embroidery is growing fast, and creative hobbyists everywhere are turning to their embroidery machines to bring digital art to life in thread form. But here's the catch: your Bernina embroidery machine doesn’t understand JPGs. It speaks a different language—EXP files.
So how do you bridge the gap between a simple image and a stitchable masterpiece? That’s where EXP File Magic: Transform Any JPG for Your Bernina Embroidery Machine comes in. This article is your go-to guide for understanding how to convert JPG to EXP, making your favorite photos or illustrations compatible with your Bernina embroidery setup. From beginner-friendly tools to pro-level digitizing techniques, we’ll walk you through everything you need to know to turn your creative vision into an embroidered reality.
What Is an EXP File and Why Does Bernina Use It?
Understanding the EXP Format
An EXP file is a type of embroidery file format, often used by Bernina embroidery machines. It contains specific stitch information, directions, thread colors, and other data your machine needs to reproduce an image in thread.
Why Not Just Use JPGs?
JPGs are raster image files made up of pixels. Your embroidery machine needs vector-style instructions—think lines, shapes, and stitch paths—not just an image of a flower, but how to stitch it. That's why conversion is essential.
How EXP File Magic: Transform Any JPG for Your Bernina Embroidery Machine Works
The process may sound technical, but once you get the hang of it, it’s actually pretty fun. Let’s break it down into digestible steps.
Step 1: Choose the Right JPG
Not all JPGs are created equal. Look for images that:
-
Have clear, distinct shapes
-
Use solid colors
-
Are high-resolution (at least 300 DPI recommended)
Complex images with gradients or intricate details may not convert cleanly.
Step 2: Digitize the Image
You’ll need digitizing software to translate your JPG into a file your Bernina understands. Some popular options include:
-
Bernina ArtLink (Free) – Basic features, perfect for beginners
-
Wilcom Hatch – User-friendly interface with powerful tools
-
Embird Studio – Versatile and suitable for more advanced users
-
SewArt – Affordable and easy-to-learn
What Does Digitizing Mean?
Digitizing in embroidery terms means creating a series of stitch instructions that the machine will follow. You're not just "saving as EXP"—you're building a blueprint for the needle to follow.
Tools That Make EXP File Magic Happen
Bernina ArtLink – A Beginner's Best Friend
Bernina's own software, ArtLink, is a free tool you can download directly from their website. It allows you to import and export embroidery files in several formats, including EXP.
Features:
-
Resize designs
-
Mirror and rotate
-
Basic stitch simulation
-
Export to USB or directly to machine
Third-Party Software Comparison
| Software | Cost | Ease of Use | Best For |
|---|---|---|---|
| ArtLink | Free | Easy | Beginners |
| Wilcom Hatch | Paid | Medium | Intermediate Users |
| SewArt | Affordable | Easy | Hobbyists |
| Embird Studio | Paid | Advanced | Professionals |
Step-by-Step Guide to EXP File Magic: Transform Any JPG for Your Bernina Embroidery Machine
Let’s put theory into practice. Here's a simplified version of the workflow:
Step 1: Prep Your Image
-
Open your JPG in photo editing software like Photoshop or GIMP
-
Clean up any background noise
-
Convert to grayscale if needed
-
Save it at high resolution
Step 2: Import Into Digitizing Software
-
Open your digitizing program
-
Import the cleaned-up JPG
-
Use auto-digitizing or manual tools to map stitches
Step 3: Set Stitch Types
-
Choose from satin, fill, or run stitches
-
Adjust stitch density and direction
-
Optimize for fabric type
Step 4: Export as EXP File
-
Double-check your design
-
Use “Save As” or “Export” to create an EXP file
-
Load onto your USB stick or send directly to the machine
Step 5: Test Stitch on Scrap Fabric
Never skip the test stitch! This step helps you identify any errors before committing to your final fabric.
Tips for Better Embroidery Results
Keep It Simple
The more complicated your image, the harder it is to digitize cleanly. Stick to basic shapes and outlines when starting out.
Use Proper Stabilizer
Every fabric needs a stabilizer—whether it's tear-away, cut-away, or water-soluble. Match your stabilizer to your project.
Don’t Rush the Learning Curve
Digitizing takes practice. Start with free designs or use templates from the software before jumping into complex projects.
Common Mistakes to Avoid
1. Using Low-Resolution Images
Blurry or pixelated images won’t convert well and can lead to messy stitches.
2. Ignoring Stitch Density
Too dense? You’ll break needles. Too light? It’ll look sparse. Balance is key.
3. Skipping the Test Stitch
Always do a test run on a scrap piece of fabric to avoid surprises.
FAQs About EXP File Magic
Can I Convert Any JPG into an EXP File?
Technically yes, but some images are easier to digitize than others. Stick to simpler images when you're starting out.
Do I Need a Bernina Machine to Use EXP Files?
EXP files are designed for Bernina machines, but some other brands may read them with the right software support.
What’s the Best Free Software for Beginners?
Bernina ArtLink is highly recommended for beginners who want to explore EXP file creation without spending money upfront.
Conclusion
Creating embroidery-ready designs from JPGs might sound daunting, but with a bit of patience and the right tools, it’s entirely possible—even enjoyable. Thanks to tools like ArtLink and software like Hatch or SewArt, EXP File Magic: Transform Any JPG for Your Bernina Embroidery Machine is now accessible for hobbyists and creators of all skill levels.
Whether you're personalizing gifts, starting a small business, or just exploring a new creative outlet, mastering the EXP format unlocks endless embroidery possibilities. So grab your favorite image, fire up your software, and let the stitches begin!

 English
 Arabic
 French
 Spanish
 Portuguese
 Deutsch
 Turkish
 Dutch
 Russian
 Romaian
 Portuguese (Brazil)
 Greek